Want to know how to create user registration form in WordPress? Then, you’ve landed in the right place.
User registration forms allow your customers to register to your WordPress website. Further, you can also decide the user roles and many more.
In this article, we’ve explained a detailed guide on how to create a user registration form for you. Hence, keep reading.
Why Create a Custom User Registration Form in WordPress?
WordPress offers a default registration form. However, it only has default field options such as Username and Email. But, you might want to add some extra fields to your registration form.
For example, if you’ve got an eCommerce website then, you need extra information like customer’s address, country, age, gender, and more. Hence, you need to add extra custom fields to your registration form.
But how? Well, there are thousands of free and premium WordPress registration plugins to create custom user registration forms. We’ll discuss later how to make a custom user registration form via a WordPress plugin. But first, let’s discuss some more benefits of custom user registration forms.
- Grow Email List: After your users have registered to your website, you can save the email list. And use it to promote your products through emails.
- Set different User Roles: User Registration plugins allow setting different users’ roles such as subscribers, guests, contributors, and more.
- User Account Page: Most of the information filled in the registration forms can be displayed on the user account page. Further, users can manage and modify the information.
Tutorial on How to Create Custom User Registration Form
1) Choose a Suitable WordPress User Registration Plugin
As we mentioned above, the easiest way to add a custom user registration in WordPress is using a plugin. WordPress user registration plugins allow you to add as many fields as you want. On top of that, you can customize the forms as per your preference.
Now, you must be thinking about which plugin should you choose for your website? So, here’s a plugin suggestion from us. It’s none other than User Registration by WPEverest.
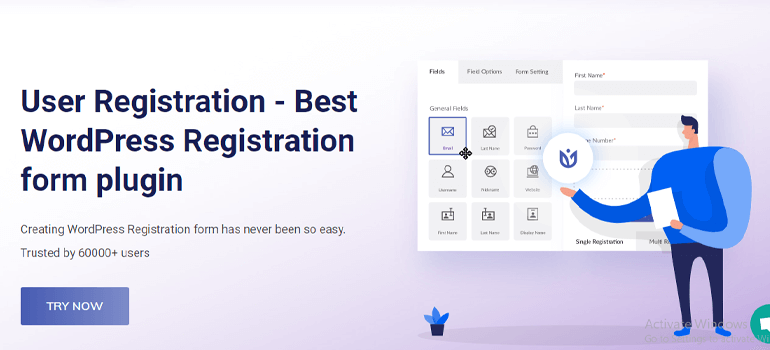
User Registration offers a drag and drop builder to easily create registration forms without touching a single code. Apart from that, here are some important features of User Registration
- Email Notification: Send a confirmation email to the users as soon as they register.
- Unlimited Form Fields: This plugin provides unlimited pre-defined registration fields.
- User Profile Account: When the user registers, all the necessary information is stored in the user profile account. Best of all, they can access it by logging into their account.
- In-built Login Form: You don’t need to create a login form from the ground.
- WooCommerce Integration: Easily integrate the WooCommerce plugin into your WordPress website.
Install and Activate User Registration Plugin
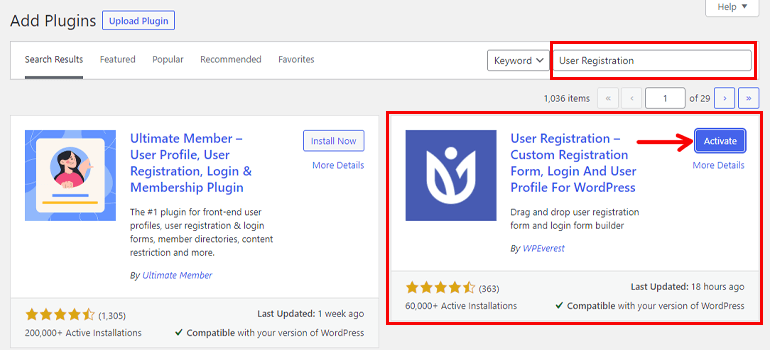
Now that we’ve decided about the plugin. It’s time to install it. Log in to your WordPress dashboard and navigate to Plugins >> Add New.

Search User Registration on the search bar. Then, click on the Install button and finally hit the Activate button.
If you wish to get extra features then, it’s better you upgrade to the premium version of the plugin. The installation process of the premium version is a little different than the free version. Here’s how you can do it.
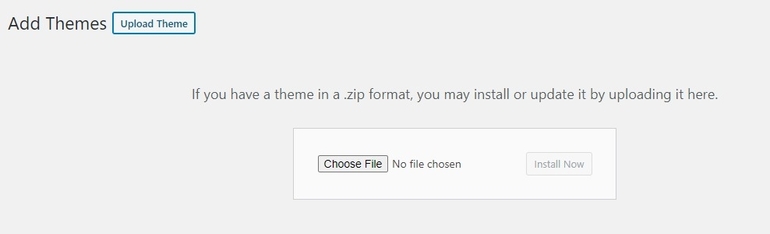
First of all, visit the official site of the plugin. Purchase the premium User Registration and download the zipped file on your computer. Next, go back to your WordPress dashboard and navigate to Plugins >> Add New.
Click on the Upload Plugin button located at the top left and select Choose File.
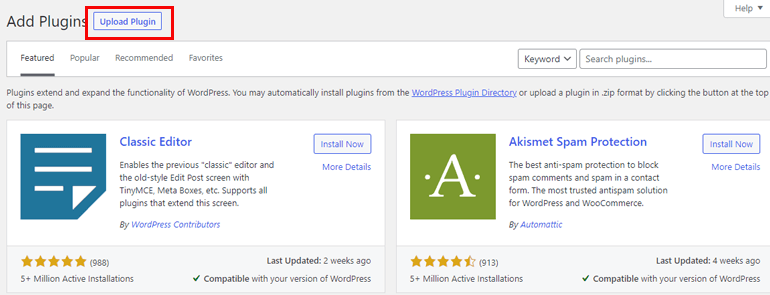
Then, upload the zipped file. Install the plugin, and lastly, Activate it.
2) Enable Membership Registration Settings
Before anything, you need to enable the Membership Registration setting option. That’s because if you don’t enable this option, the users cannot register on your website.
To enable this option, navigate to Settings >> General from your WordPress dashboard.
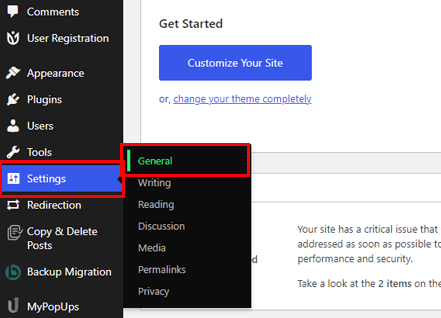
Scroll down a little and check the box right next to the Membership option. Lastly, click on the Save Changes button.

3) Create a New Registration Form
The third step on how to create user registration form in WordPress is to create a new registration form. If you observe carefully, you can see a Welcome to User Registration message at the top of your dashboard. Now, select the Install User Registration Pages button.

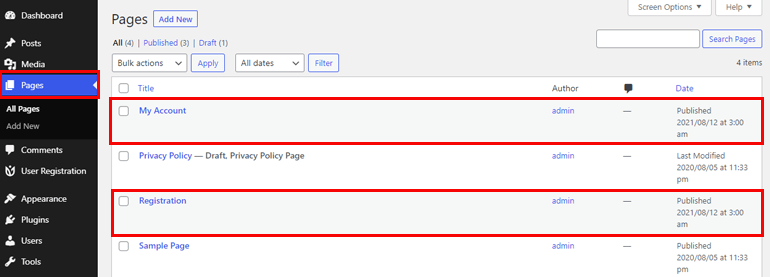
Clicking on this button automatically adds two pages – Registration and My Account. You can access these pages by navigating to the Pages option from the sidebar menu.
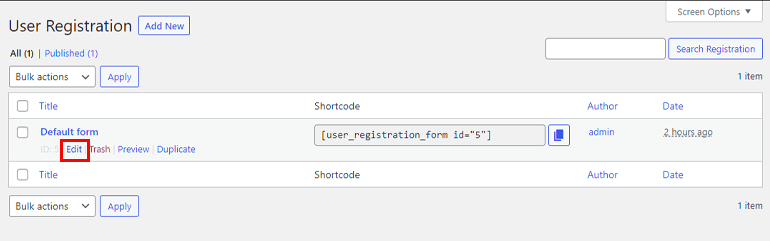
Thereafter, click on the User Registration tab from the sidebar. There you can see the Default form. You see the preview of the form as well.
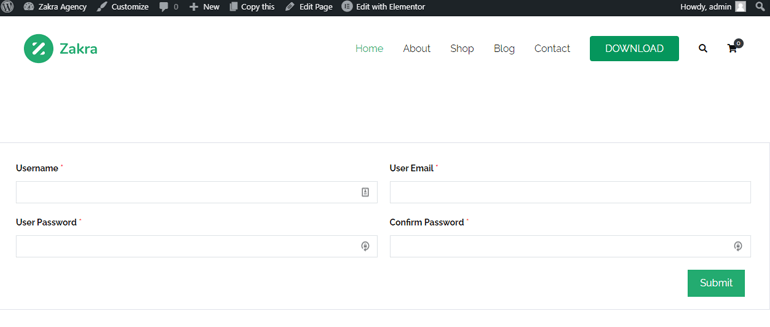
Note: This is how the form looks in the Zakra theme. It might differ according to the active theme on your website.
To avoid extra work, you can simply edit the default form by clicking on the Edit option below the Default form. This takes you to the form builder page, where you can simply drag and drop fields of your choice.
However, if you wish to create a registration form from scratch, here’s a brief guide.
Click on the User Registration tab and select the Add New option at the top left.

This takes you to the form builder page. On the left pane, field options are available. Likewise, on the right pane, there’s a form with two default fields – Username and Password.
To start building custom user registration, firstly, give it a name. Next, add more fields by selecting the Add New button. Simply drag and drop fields from the left pane to the right pane.
Once you’re satisfied with the registration form, it’s time to customize it.
4) Customize the User Registration Form
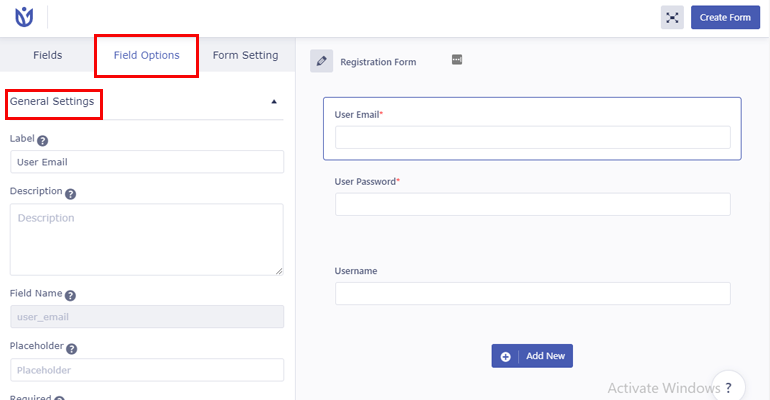
As mentioned above, the next step on how to create user registration form in WordPress is to customize it. Hence, click on the field you want to customize. On the left pane, different Field Options will appear.
The Field Options are further divided into General and Advanced Settings. The General Settings allows changing options like Label, Field Name, Placeholder, etc.
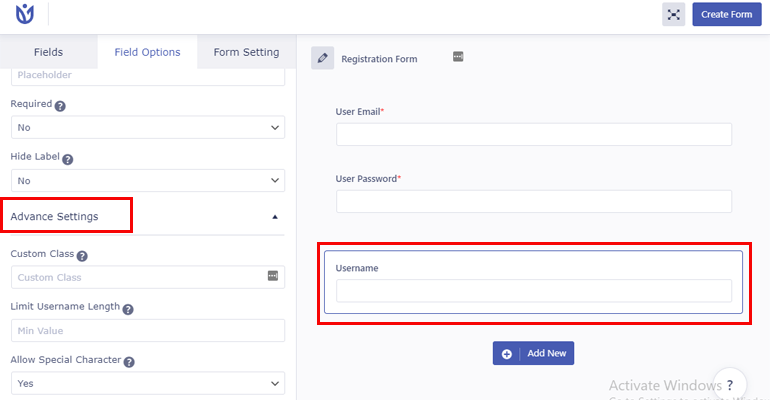
Correspondingly, with Advanced Settings, you can add Custom Class. Some fields, such as Username offer some extra Advanced Settings.
Next is the Form Setting. Below are the options you can configure under this section.
- User login Option: It allows you to choose the login option after registration.
- Default User Role: Enable different users roles like Subscriber, Author, Editor, etc.
- Enable Strong Password: Make strong passwords compulsory with this option.
- Redirect URL: Choose the redirect path after successful user registration.
- Success Message Position: Select the position for the success to appear after a successful registration.
- Enable reCaptcha Support: Make the registration process more secure by enabling reCaptcha.
- Form Template: You can select different form templates to use.
- Custom CSS Class: This allows you to add multiple CSS classes separated with space.
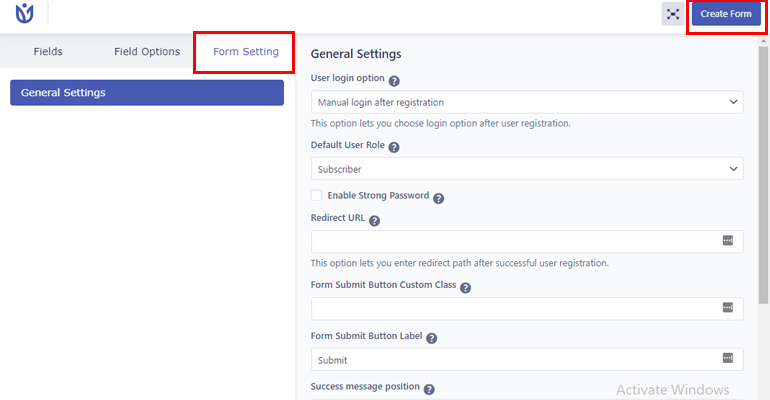
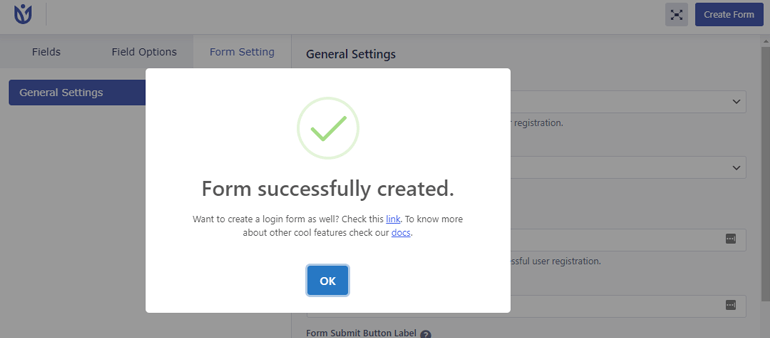
After you’ve configured the settings, all there’s left to do is save this registration form. You can do that by clicking on the Create Form button at the top right as shown in the image above.
You get a Form Successfully Created message once the registration form is created.
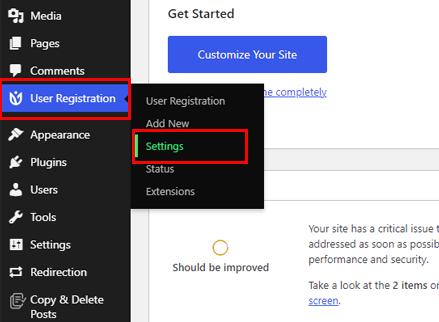
5) Configure User Registration Plugin’s Settings
There are still some plugin settings you need to configure. For that, navigate to User Registration >> Settings.
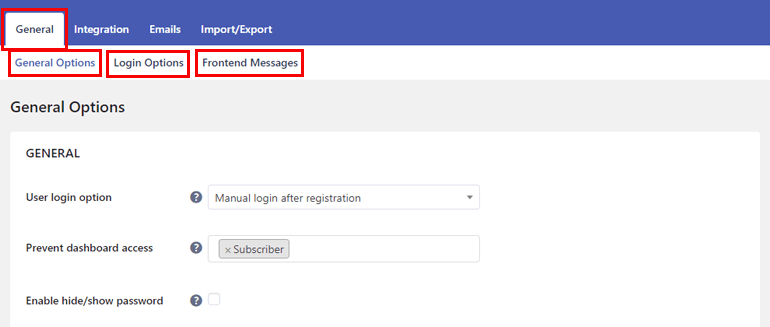
On the setting page, you can observe four major setting options – General, Integration, Emails, and Import/Export. We’ve discussed them below.
General
This option is further divided into General Options, Login Options, and Frontend Messages.
The General Options allows you to change page URLs endpoints, User Login Options, and much more. Additionally, with Login Options you can Enable Ajax Login, change Labels, Placeholder, Messages, etc. Likewise, the Frontend Message option enables you to edit the Success and Error Messages displayed in the frontend.
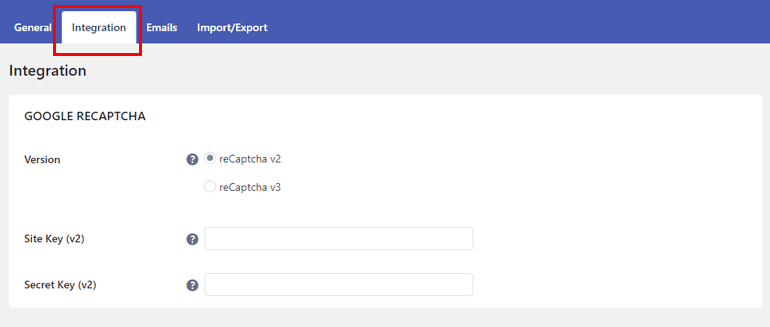
Integration
Insert Google reCaptcha with the help of this option. Enter the Site Key and Secret Key, and you’re all done.
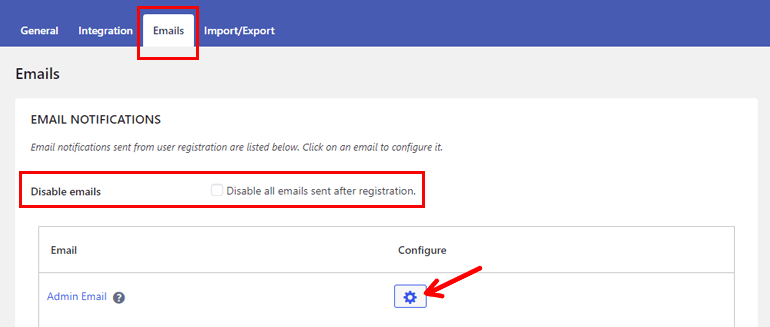
Emails
Here you can configure all the necessary email settings such as Admin Email, Email Confirmation, Registration Pending Email, and more. Furthermore, you can also disable the email option as well.
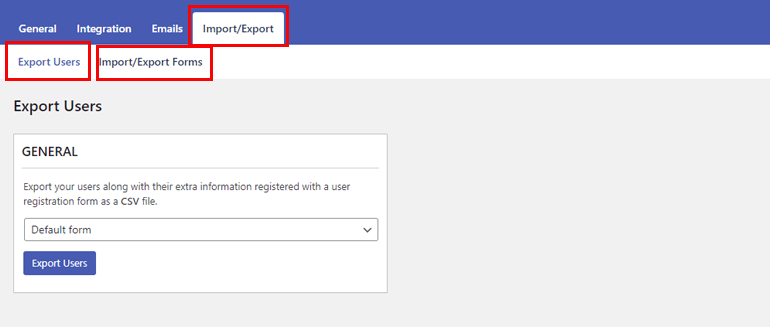
Import/Export
The Import/Export option allows you to export registered user’s extra information as a CSV file. Moreover, you can also import and export registration forms.
6) Publish WordPress Custom User Registration Form
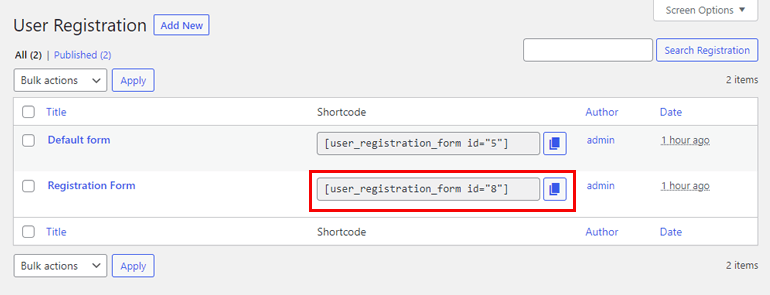
The next step on how to create user registration form in WordPress is to display your form. So, go ahead and click on the User Registration tab.
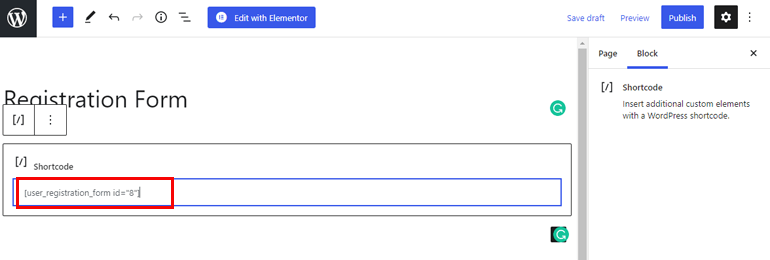
You can see the Registration Form we created earlier. Now, simply copy the Shortcode.
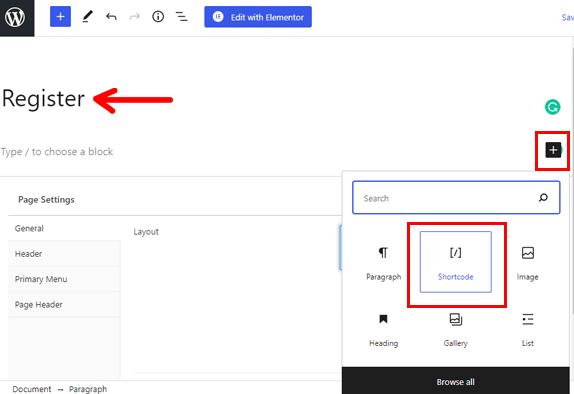
Then, create a page by navigating to Pages from the sidebar menu. Enter a Title then, click on the (+) Plus icon and add a new Shortcode block.
After that, paste the shortcode we copied earlier.
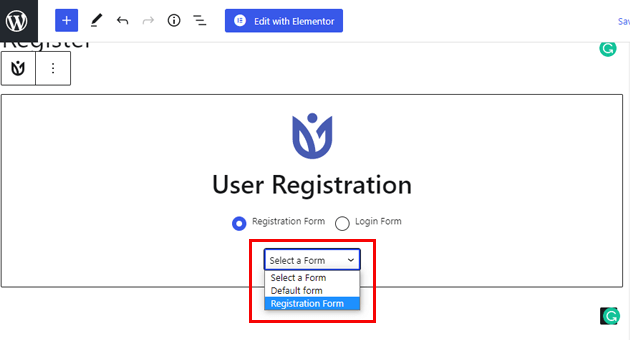
Alternatively, you can select the User Registration block and add the Registration Form from the dropdown.
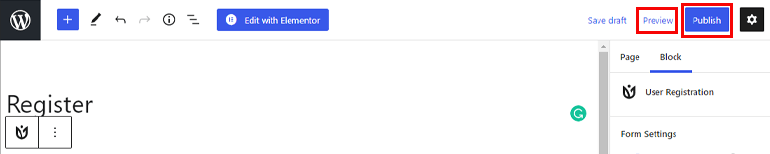
You can Preview your form before publishing. If you’re satisfied, click on the Publish button.
7) Display The Custom User Registration Form
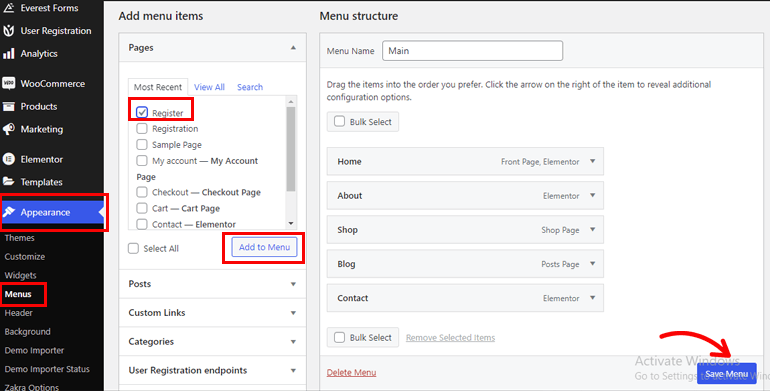
By far, we’ve created and published the user registration form. However, you need to add it to the menu to make it visible to your users. Therefore, navigate to Appearance >> Menus.
Select the page we create in the above step and click on the Add to Menu button. Finally, hit the Save Menu button.
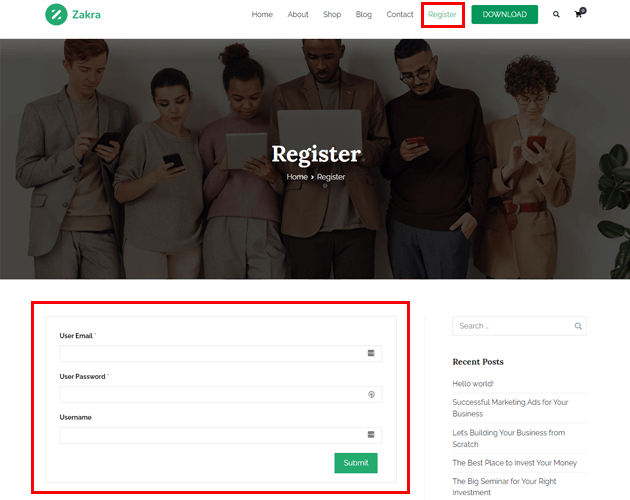
Now, if you see the preview of your website, the Register menu is visible in the top bar. Similarly, if you click on the menu, the registration form appears.
Wrapping It Up!
And that’s it for this tutorial on how to make a custom user registration form in WordPress. User registration forms are important for your website to grow and increase conversions.
Thanks to the User Registration plugin, creating a registration and login form has never been this easy. It’s extremely beginner-friendly and has loads of customization options.
Finally, it’s the end of this article. Hope you enjoyed reading this article. And, if you did, take a moment to share it on social media.
Here’s an article on how to import Zakra demos if you’re wondering how to. Also, follow us on Twitter and Facebook for more future updates.