Are you wondering how to create a multi column form in WordPress? Well, we must say your search ends right here.
Multi column forms help create an organized form that’s easier to navigate for your users. In fact, these types of forms are considered more engaging and interactive.
Therefore, in this article, we’ve presented a complete guide on how to create a multi column WordPress form.
So before starting our step-by-step guide, let’s first understand why you should add a multi column WordPress form.
Why Add Multi Column WordPress Form?
A form is a way that allows your visitors to contact you and send information. Also, forms are an excellent medium for generating leads and converting your users into customers.
Therefore, deploying interactive and engaging forms on your website is a necessity.
To add more, you can make your form interactive by using text boxes, radio buttons, a dropdown menu, conditional logic, adding a file upload area, etc.
However, adding all these elements into a single-column form makes your form long. Not to mention, it takes a lot of time and effort for your user to fill out the form.
But worry not, multi column form is here to rescue. The multi column form makes your longer-form more neat and scannable.
In reality, these forms are more engaging than the traditional single-column form. Also, multi column grids emphasize your form’s text and make it simpler to read and understandable.
Since the multi column form fields are side by side, it makes it easy for your users to navigate your form. Therefore, it’s the most effective way to showcase your long and tedious form in a smart grid layout.
The question is how to easily create a multi column form in WordPress. It’s simple, to create an engaging multi column form, first, you need a WordPress form builder plugin.
Therefore, in our next section, we’ll find out the best form builder plugin to create a multi column form in WordPress.
Best WordPress Plugin to Create Multi Column Form
There are numerous WordPress form builder plugins available on the web. However, not all of them are user-friendly or versatile enough to create every type of form.
Don’t worry, we did some research and found the perfect WordPress form builder plugin for you. It’s non-other than Everest Forms by WPEverest.

This plugin allows you to create any type of form without writing a single line of code. Most importantly, it has a drag-and-drop interface. And it’s highly flexible to create and customize any type of form. Plus, it comes with different pre-built form templates so that you can start in no time.
Also, it supports eSignature, and shortcode, and comes with email notification and autoresponders, etc. Moreover, It’s integrated with many tools and payments gateways like PayPal.
Along with multi column forms, you can also create multi-step forms, survey forms, user registration forms, contact forms, etc. Besides that, it offers top-notch features like adding unlimited form fields, advanced customization tools, and more.
And so far, 100,000+ users trust this plugin. Hence, without any doubt, it’s one of the best options to create a multi column form for your WordPress website. Now it’s time to create a multi column form in WordPress using Everest Forms. Let’s get started.
Creating Multi Column Form with Everest Forms
Step: 1 Install and Activate Everest Forms
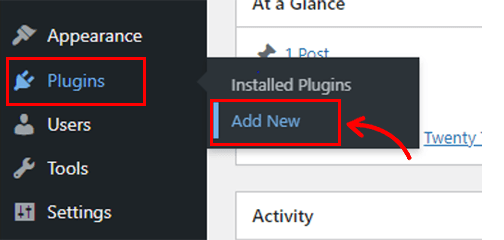
First thing first, you need to install the plugin on your WordPress website. So, login into your WordPress dashboard and navigate to Plugins >> Add New.
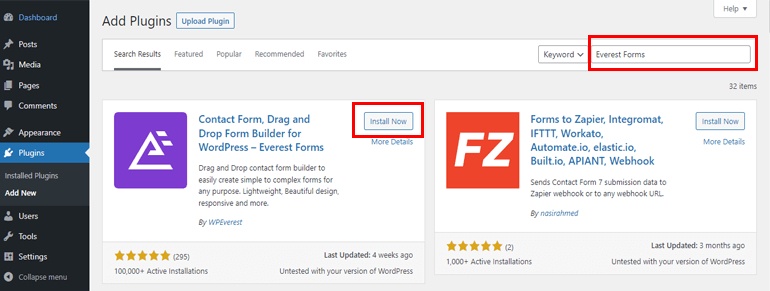
Here, you’ll see a search bar where you need to type Everest Forms. Once you see the Everest Forms in your search result, click on the Install Now button.
After installing the plugin, you can see Activate button, so click on that.
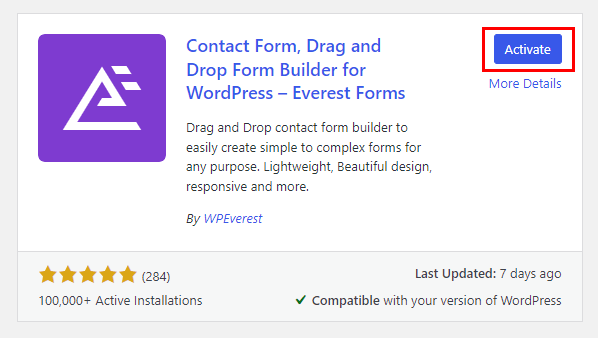
And that’s it, you’ve now successfully installed the free version of Everest Forms.
For the detailed information, you can watch our YouTube video on how to install the free version of Everest Forms.
In fact, with the free version of Everest Forms, you can create an interactive multi column form for your WordPress website.
Or, if you want to access the plugin’s extensive features and functionality, you can buy the premium pack as well.
Step:2 Creating a New Form with Multi Column
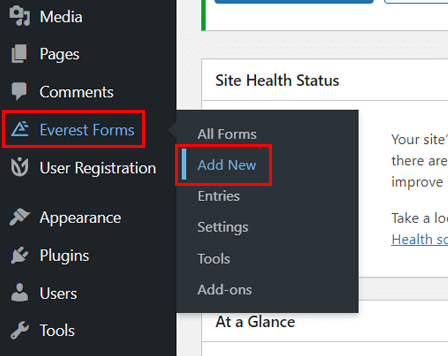
As you’ve installed and activated Everest Forms, let’s now start creating a multi column form for your WordPress website. To do that, first, navigate to Everest Forms>> Add New.
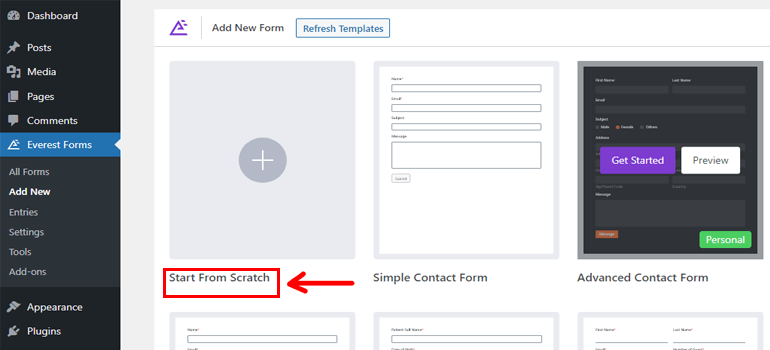
After that, you’ll be direct to a new page, where you can see different pre-made forms offered by Everest Forms.

Here, you can choose any form template, customize it, and add it to your website. Or you can build your form from scratch.
Here, we’ll be creating a form from scratch. So click on the Start From Scratch option.
Now, give an appropriate name to your form. For example, here, we’ve named the form Multi Colum Form.
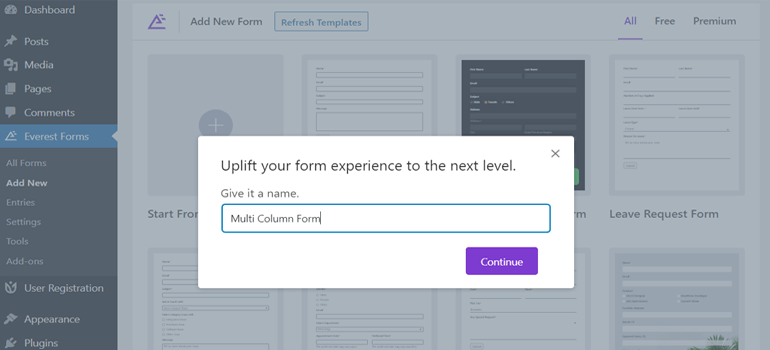
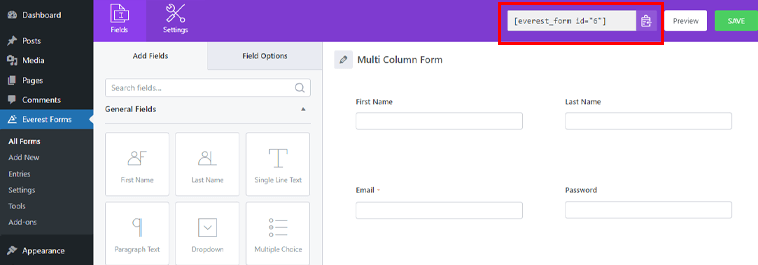
Thereafter, it takes you to the new page where you can start building your multi column form.
As you can see two columns are already available in the form. You can change and make it a single column or add more columns to it. So, to do so, hover your pointer on the form field, and you’ll see three different options
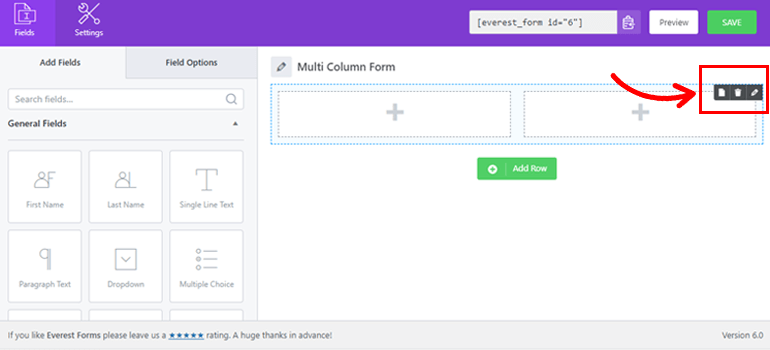
First is a page-like icon that you can use to Duplicate Row while building your form. The second one is the Delete option. And the third one is a pencil-like icon that allows you to add multi columns to your form.
Click on the pencil-like icon, then it displays Row Setting. From the row setting, you can set multiple columns for the row.
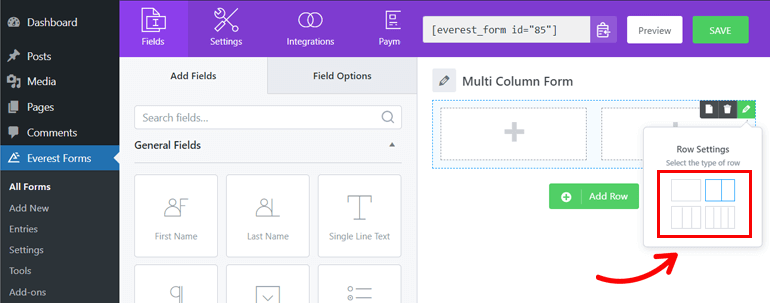
In fact, Everest Forms allows you to choose between four different column options on each row. So, you can select the column option for the row as per your choice.
After that, you can start adding fields to your form. All you need to do is drag the field of your choice from the left side and drop it to the right side of your form builder area.

Furthermore, to add a new row to the form, click on Add Row button. When you click on this button, the same number of columns will be added to the next row.
However, you can change the number of columns through the Row Settings option.
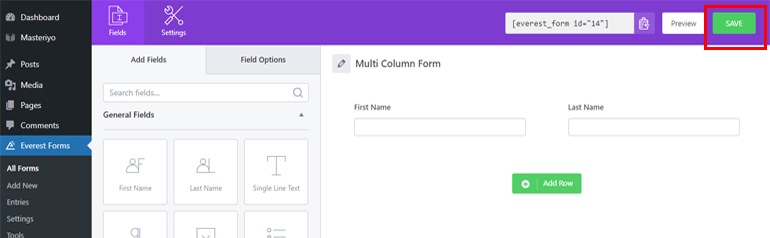
After adding rows and fields to your multi column form, click on the Save button to save your form settings.
Step:3 Setup and Configure Form Settings
After building your form, if you want to change your added field setting, click on that form field and select Field Options from the left. Here you can change a Field Name, Add a Description and change the Meta Key.
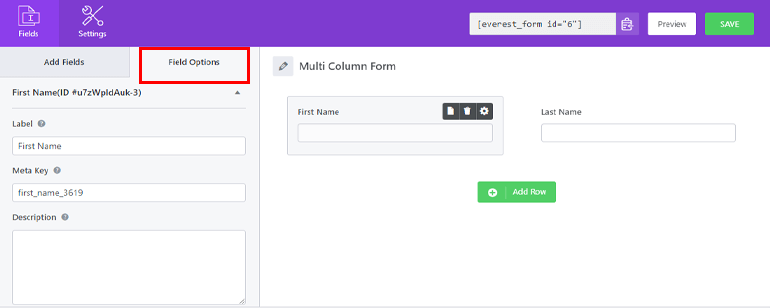
Also, there is an Advanced Options where you can add Placeholder Text, add Default Value, and CSS Classes.

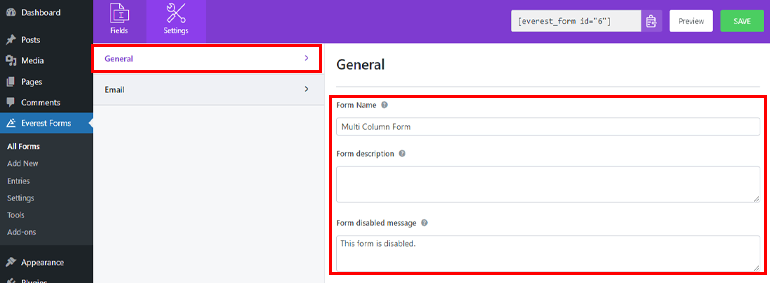
Furthermore, you can also configure the settings of the form. Simply, click on the Settings tab right next to the Fields tab. Here you’ll see two options General and Email.
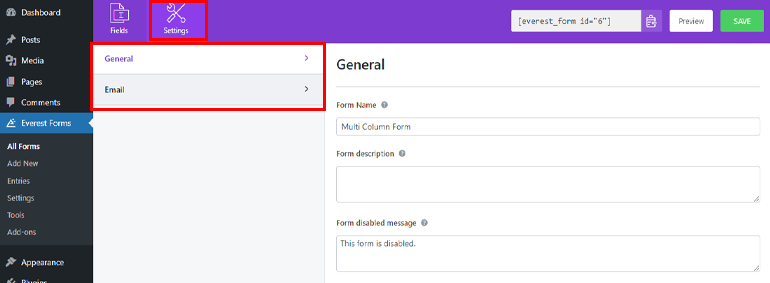
You can change the Form Name, Form description, and add a Successful form submission message from the General setting.
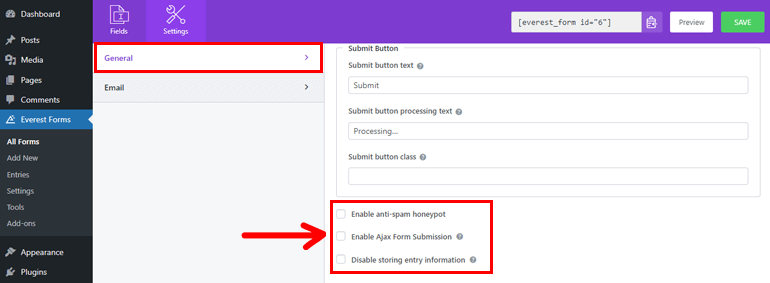
Additionally, Everest Forms also allows you to Enable anti-spam honeypot, Enable Ajax Form Submission, and Disable storing entry information.
Similarly, from the Email setting, you can set admin email in the To Address section so that when any forms get submitted, you’ll receive a notification.
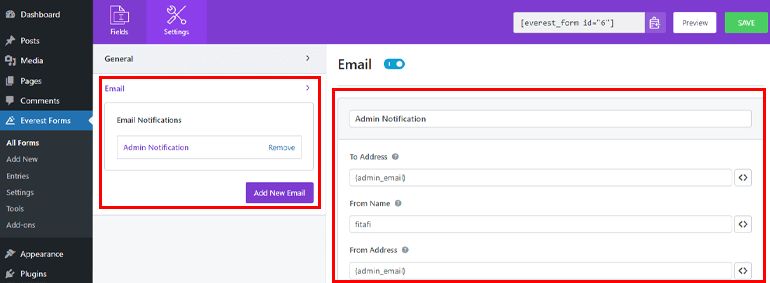
You can also set Reply-To for referring email address where you would like to reply. In addition, you can also add an Email Subject and Email Message.
Step:4 Display the Form on Your WordPress Website
Since you’ve created and configured settings for your multi column form, it’s time to publish it. And you can publish your forms in two different ways.
The first one is the shortcode method, where you need to copy the shortcode of your multi column form.
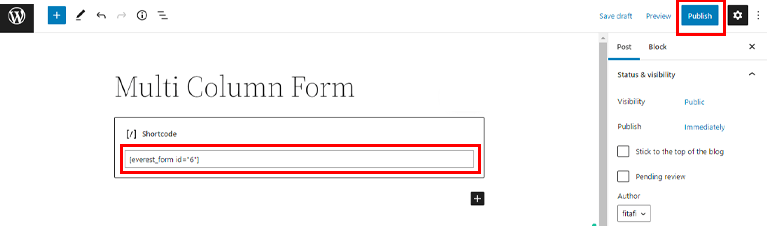
Then open any widget, page, or post where you want to place the form. After that, click on the (+) button, paste the shortcode on the shortcode block, and hit the Publish button.
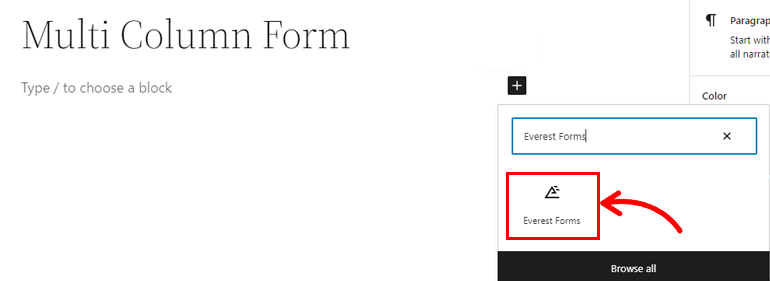
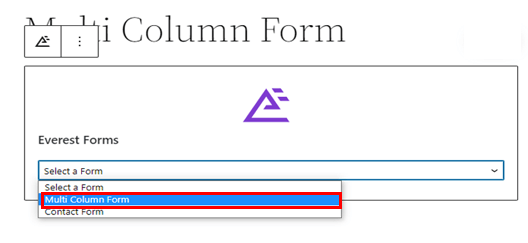
Alternatively, you can also add your multi column form to your website by first clicking the (+) button. Then, the search bar will appear where you need to type Everest Forms. After the result shows the Everest Forms icon click on it.
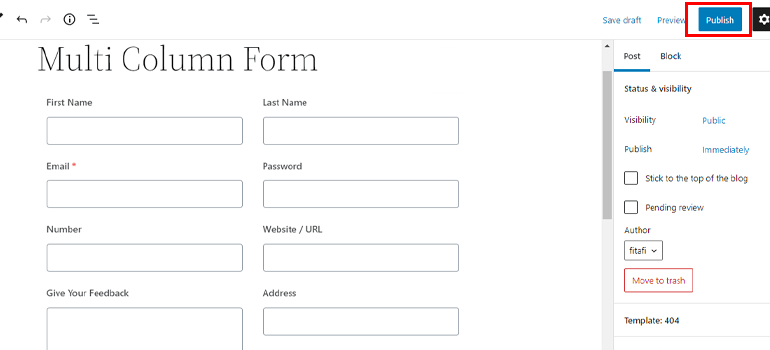
Then, select the Multi Column Form option from the dropdown menu that we created earlier.
And at last, don’t forget to press the Publish button which will appear in the right side corner.
Wrapping It Up!
So, that’s it for our step-to-step guide on creating a multi column form in WordPress. As you might have noticed, adding a multi column WordPress form to your website is easy with Everest Forms.
Most importantly, you can use this form builder plugin to make your large forms neat and more concise. And even though you’re a layman, using this plugin to create any forms for your website is a piece of cake.
Other than that, you also check out our blogs, where we’ve covered WordPress-related topics such as how to make a transparent header, create a custom homepage, change post layout, and more. Lastly, follow us on Twitter and Facebook for more future updates.