Do you want to create a survey online? Are you confused about how to create a survey form in WordPress?
Don’t worry! In this article, we’ve created a complete guideline on how to make an online survey form in WordPress.
But before you learn to create a survey online, we want you to know what a survey form is and why you need it on your WordPress website. So, let’s continue.
What is a Survey Form? Why do You Need a Survey Form in WordPress?
A survey form is one that contains questions, which are designed for gathering information about users’ experiences. It can be a long-form, or form with a poll, quiz, or anything else through which the admin can gather the data and summarize them to form a report.
For example, you obviously have a target audience whenever you build your website. So, you might use tools like Google Analytics to get in-depth information regarding your audiences’ activities on your website. Although this can be beneficial to improve your site’s user experience, it would be much better to interact with your audiences one by one. And for this purpose, you can create a survey form on your website.
Once you create a survey online, you can add the relevant questions you want your users to answer. Further, you can directly get to know their likes and dislikes, get feedback from them, and many more. And after viewing the forms filled by the users, you can have insight into the room for improvements.
Therefore, a survey form in a WordPress website has great importance. It also assures your audience that you listen to their voices and improve for the better.
Having said that, let’s learn about how to create a survey form in WordPress!
How to Create a Survey Form in WordPress? (Easy Guide)
Step 1: Select the Best WordPress Survey Plugin
The first step to creating a survey online in WordPress is choosing the best WordPress form builder plugin. For us, it’s the Everest Forms as it is one of the best survey plugins out there.
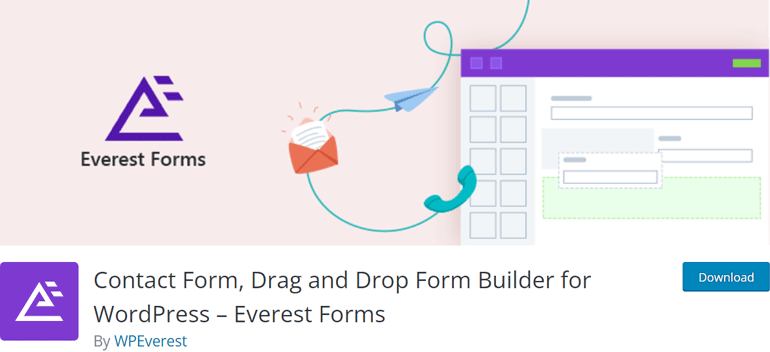
Everest Forms has a drag and drop feature that lets you drag the elements of your choice and drop them into your form. It is a user-friendly form builder plugin that anyone, either beginner or expert, can quickly build a survey form within a matter of seconds.
At the same time, it also has tons of pre-built templates to create a survey online. You can simply use them and start in no time. Other features like unlimited fields for forms, seamless integration with different tools, email notifications, and many more are available.
Besides, their documentation and support team will help you in any steps if you get confused or want help. Thus, if you haven’t chosen the plugin to create a survey online, you should definitely look at Everest Forms’s review and get maximum benefits.
Step 2: Download the Everest Forms plugin and install it
Once you’ve selected the best plugin for your website, it’s time to install and activate the plugin. Here we’ll proceed with the Everest Forms.
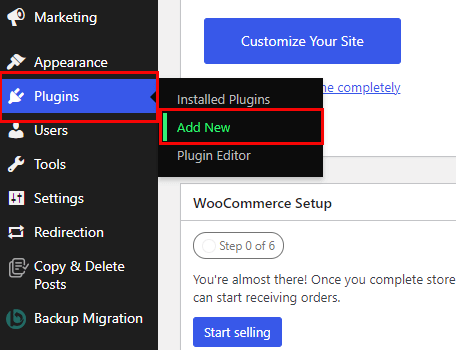
First, login into your WordPress website’s dashboard. Then, guide yourself to Plugins >> Add New
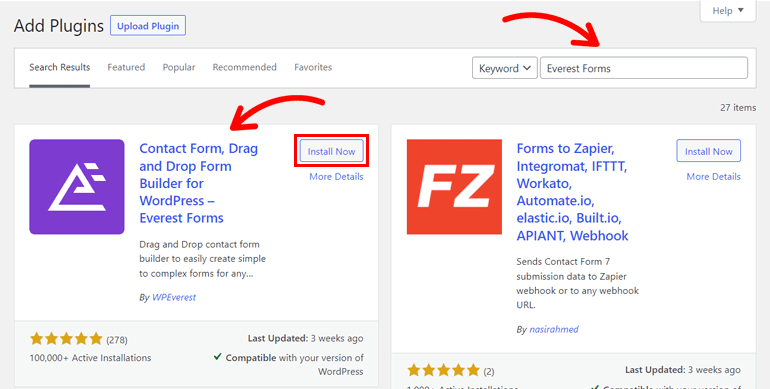
A new page – Add Plugins with numbers of plugins, appears on your screen. At the top, the page will have a search bar on the right-hand side. Here, type the Everest Forms plugin. As soon as you see the plugin, click on the “Install Now” button. Shortly after you install the plugin, press the “Activate” button to activate the plugin to your site.
Congratulations! You’ve now successfully installed as well as activated the free version of Everest Forms.
Step 3: Install the Required features and addons
You can easily create a simple contact form from the free version of Everest Forms; however, to create a survey form, you’ll need the premium version of this plugin.
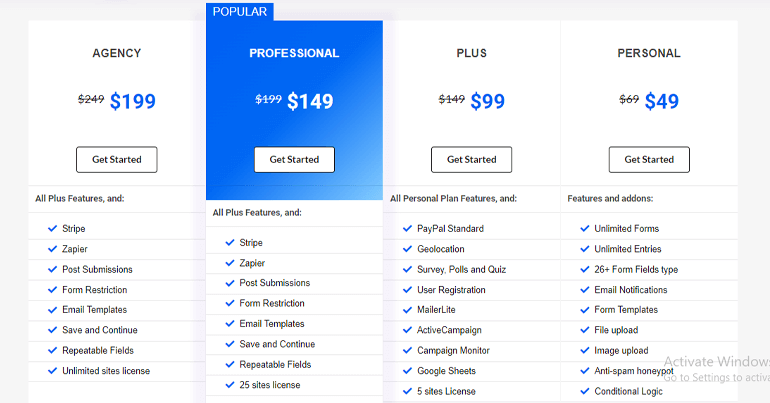
There are four different premium plans available. But, the Survey, Polls, and Quiz addon is only available on the Plus plan and above. Hence, go ahead and buy the Plus plan or above.
When you complete the transaction with Everest Forms’s premium version by creating the account, log in to the same account.
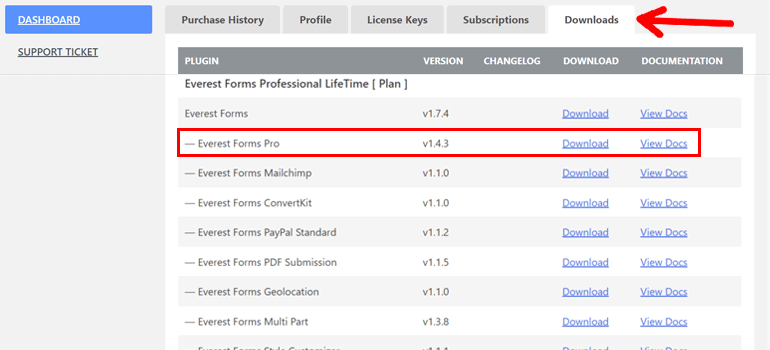
Once you log in, you’ll see the Dashboard for your account. Now, go to the Downloads and download the Everest Forms Pro addon. Here, you’ll need to note the license key you receive after paying for the premium version. The plugin will be downloaded in a zip file on your personal computer.
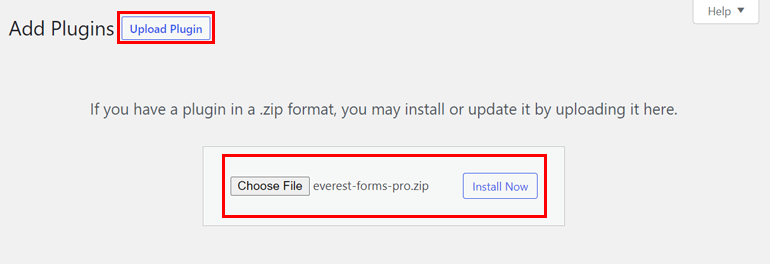
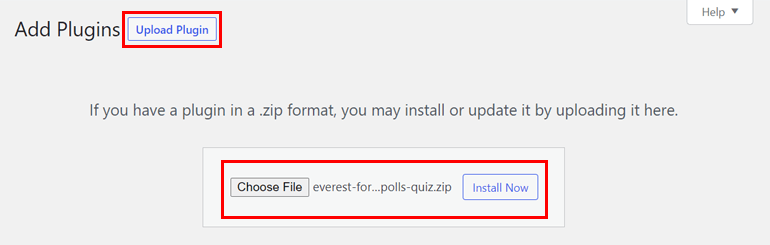
Next, visit your WordPress site’s Dashboard to install and activate the plugin’s premium version. Go to the Plugins >> Add New, click on “Upload Plugin” on the top. Now, choose the zip file that you downloaded before. When it gets uploaded, click on Install Now and Activate it.
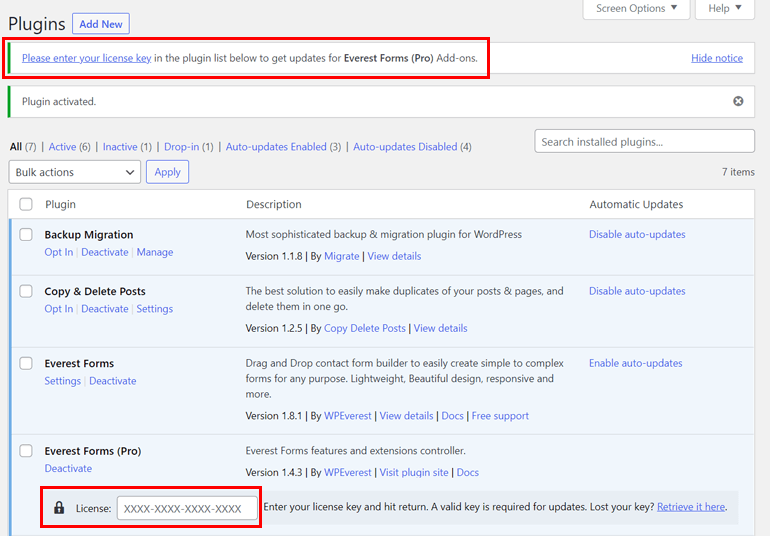
At this point, you’ll be asked to enter the license key that you got after purchasing the plugin.
Once you enter the key, you can then repeat the process to download addon – Survey, Polls and Quiz from your Everest Forms account dashboard.

Simultaneously, Install them and Activate the Survey, Polls, and Quiz addon on your WordPress site.
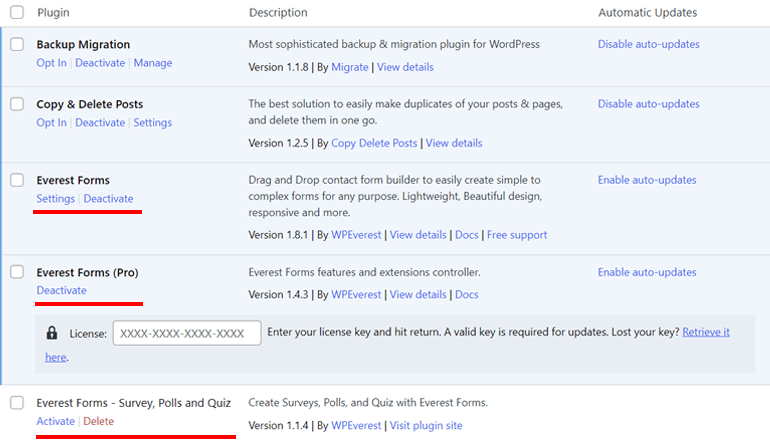
As a result, the Plugin page of your WordPress now has three plugins: Everest Forms, Everest Forms Pro, and the Everest Forms – Survey, Polls, and Quiz addon.
After all this, you’re now equipped with everything you need to create a survey form on your WordPress site.
Note: You need both the free as well as the premium version of Everest Forms to create a survey form.
Step 4: Create a Survey Form
Now, it’s time to create a survey form for your website. For that, go to the Dashboard and click on the Everest Forms >>Add New.
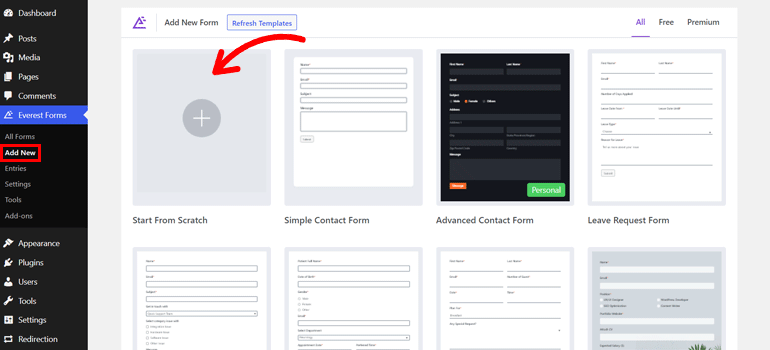
Optionally, there are also pre-built templates for the form to customize and use. But, in this article, we’re teaching you to build the survey form from scratch.
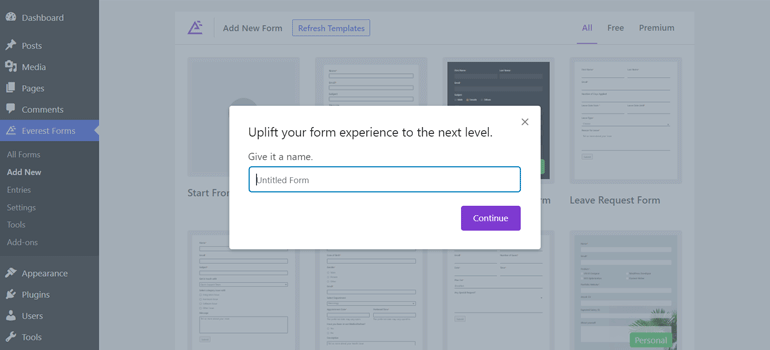
So, Continue by giving it a name.
This will now take you to the Everest Forms form builder’s interface like below:
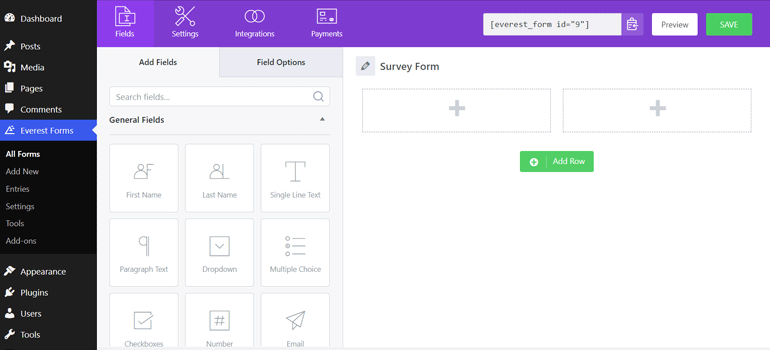
You’ll see Add Fields, which displays the field types you can use, and Field Options that lets you customize the fields.
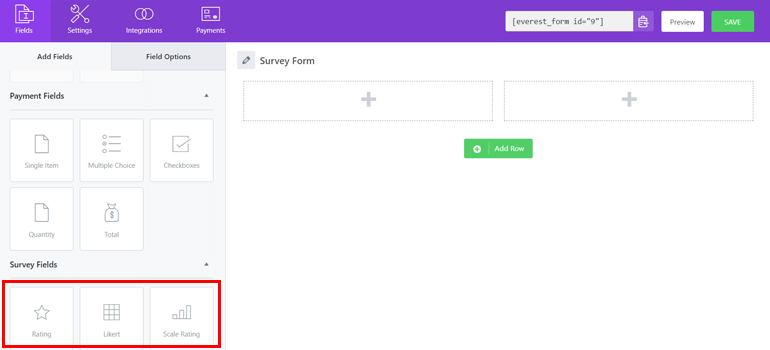
You’ll also see the Survey Fields when you scroll down. It has three fields: Rating, Likert, and Scale Rating.
Let’s now start building the survey form.
To begin with, we’ll drag and drop the Rating field into the survey form. Simultaneously, you can also add the Likert and Scale Rating fields to the form.
At the same time, if you wish to provide the whole row for the single field, you can hover on the top-right corner, click on Edit, and select the layout.
Here, you’ve successfully created the survey form.
Step 5: Customize the Survey Form
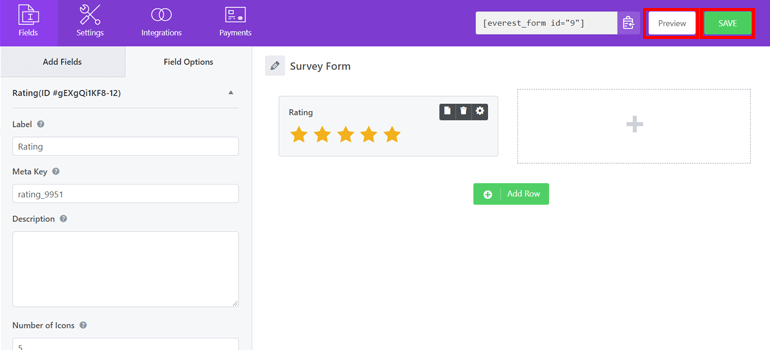
It’s now time to learn the process of customization for the fields. Go to the Field Options of the respective field, and you can then add Label and Description to the field. Further, you can add the field as compulsory to users and add the field message.

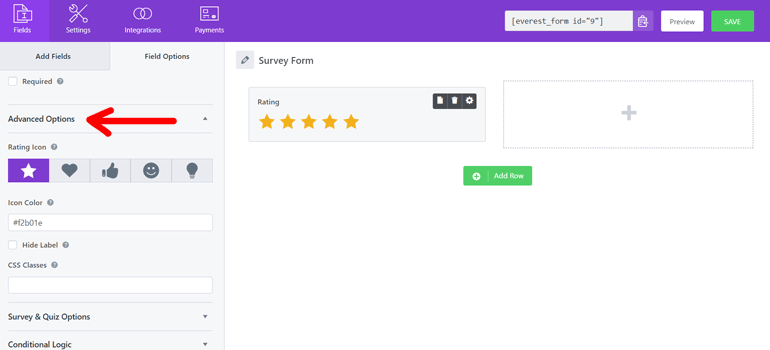
Additionally, from the Advanced Options, you can change the color of icons, type of icon, hide the field, and add the custom CSS Classes.
Once you’re done with the customization, hit the Save button on the top-left corner. Meanwhile, you can also Preview to look at the customized form.
Step 6: Enable Reporting for Your Survey Form
When you’ve your survey form ready, you’ll now require to make it capable of storing the responses. So, go to the Survey, Polls, and Quiz from the Settings and check the Enable Survey Reporting option.

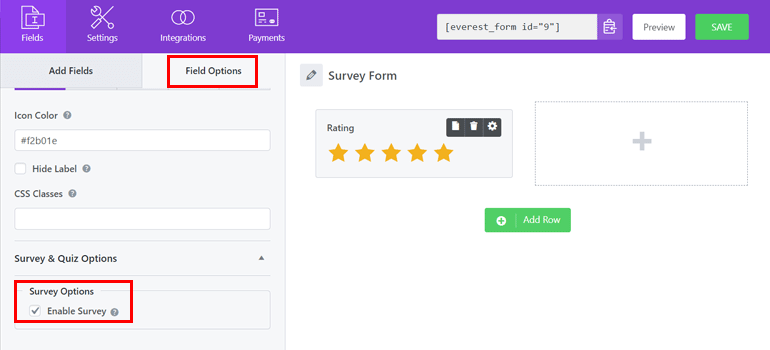
Also, if you want to disable the reporting for specific fields, you’ve got the option to do so. Go to the Survey and Quiz Options, and uncheck the field Enable Survey as the field is enabled by default.
Step 7: Configure Settings
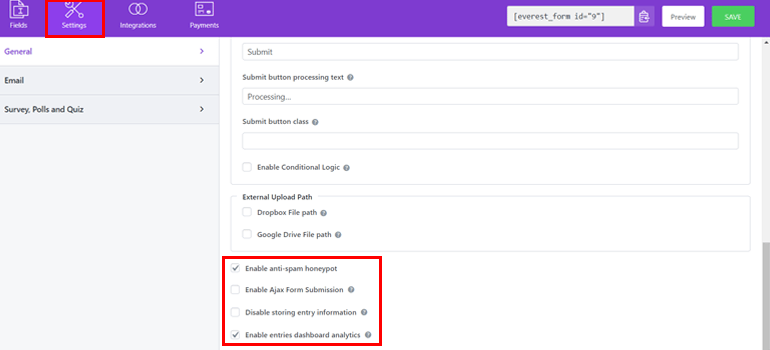
For this, go to the Settings >> General. From here, you’re able to edit the form’s name, add a description, message to display after the form submission, and customize the submit buttons.

Moreover, you also get the option to enable or disable anti-spam, Ajax form submission, and storing entry information from users.
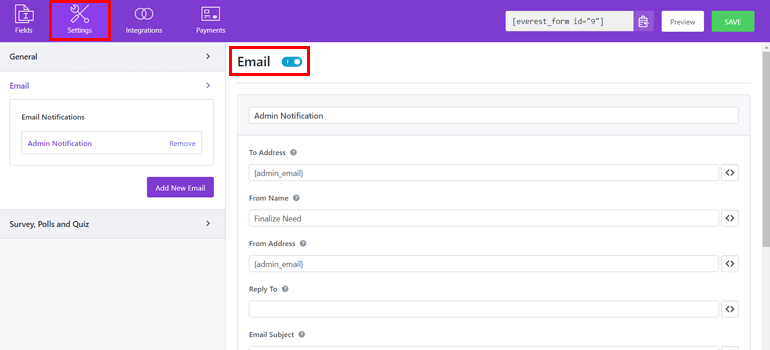
Also, from the setting, you can go to the Email to turn on the notification whenever users submit the survey form. Here, you’re required to add the email address in which you want to receive the information.
Save the changes once you’re done.
Step 8: Add the Survey Form to the WordPress Page
After performing the above steps, you’re now ready with your survey form template and can use it on your WordPress website. To use the form on the website, go to Pages or Posts of your WordPress Dashboard.
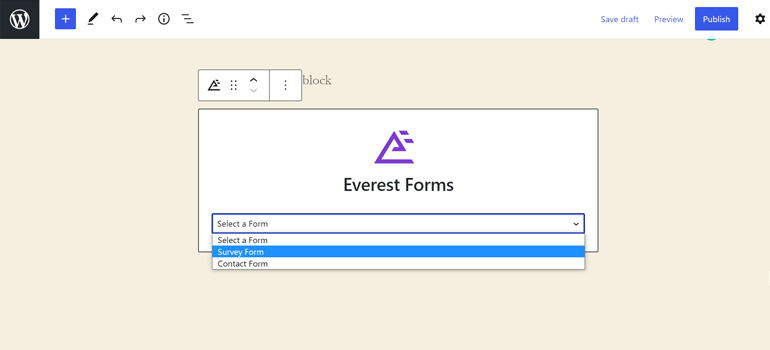
Open the page/post in which you need to insert the form. In the editor, add the block Everest Forms.

Next, from the dropdown menu, select the form you just created.
Save the changes made and Preview if you want to see how it looks on the web page or post.

You can now Publish the survey form on your website.
Step 9: Generate Reports of the Survey
The everyday use of the survey form is to generate the report by collecting the information and evaluating them. So, once the user starts to submit the form, you can view the report from your survey form.
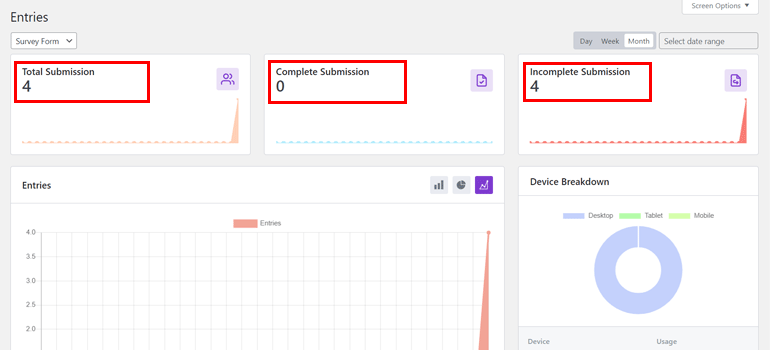
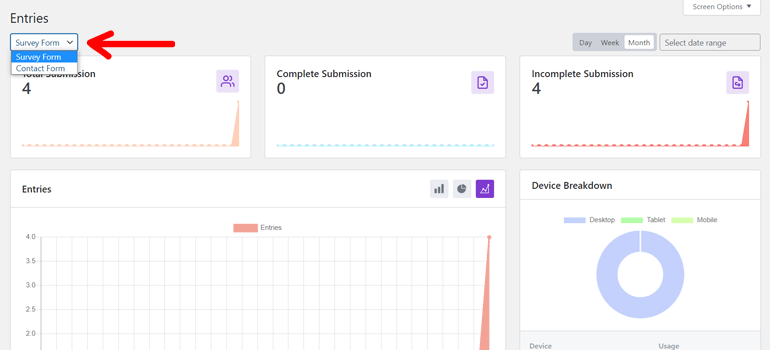
To see the report, go to your WordPress Dashboard, and from the Everest Forms, go to the Entries. From here, you’ll see the complete reports of the fields generated by your survey form. It shows the total number of responses, the number of completed responses, and the number of dismissed.
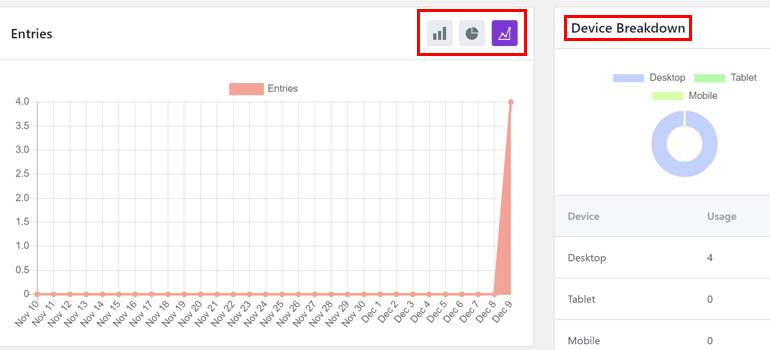
Likewise, the Rating and Scale Rating fields also provide you with the graphical interpretation in the form of bar graphs and pie charts. Also, the device that the participants use to fill the survey form is displayed on the right-hand side.
If you have other survey forms on the website and want to view their reports, click on the dropdown and select the desired form at the top-left corner.
Wrapping It Up!
That’s all for the article on how to create a survey form in WordPress. We hope you can now easily create a survey online by following our guidelines. So, go get the Everest Forms now and create a survey online on your WordPress website.
Further, if you have any confusion, you can contact the Everest Forms support team; they’re super-fast to solve any queries.
Meanwhile, you can also check out the guidelines on choosing a suitable theme for your website. At last, don’t forget to follow us on Twitter and Facebook to get an alert on every new article.