Want to create a multilingual WordPress site but don’t know how? Then, you’ve landed in the right place.
Creating a multilingual website in WordPress is an important step if you want to make your website globally popular. One of the easiest ways to create a multilingual website in WordPress is using a plugin.
In this article, we’ve explained how to create a multilingual WordPress site in detail. So, keep reading.
What is a Multilingual WordPress Website? What is Its Importance?
Did you know according to a study, only 25.9% of internet users are English natives? Additionally, WordPress powers 41% of the total website on the internet as of today. These statistics are enough to show how much it’s important to make your site multilingual, especially for WordPress websites.
In a multilingual WordPress website, users can change the site’s content into their native language. Here are some other benefits of a multilingual WordPress site.
- Expand Your Market: A multilingual website is available for every person despite their native language. This helps to expand your business on a global level.
- Increase Your Sales: Since your site is understandable by people of almost all languages, it can increase your site’s sales.
- Increase International Traffic and SEO: Adding different languages to your website allows various search engines to pick up your site.
- Global Brand Recognition: Since users can translate your site into their native language, getting international brand recognition is an unsaid thing.
Step By Step Process to Create a Multilingual WordPress Site
1) Purchase Domain Name, Web Host, & Install WordPress
First thing first, you need a unique name for your multilingual WordPress website. For that, you need to register a domain name. Likewise, purchasing a web host is another important step to follow while creating a multilingual WordPress site.
Purchase a Domain Name & Web Host
There are many web host providers you can buy a web host from. The good news is that some web host providers offer Free Domain Name + Domain Privacy Protection while purchasing a web host. For this tutorial, we’re going to purchase a web host from one of the most popular web host providers – Bluehost.
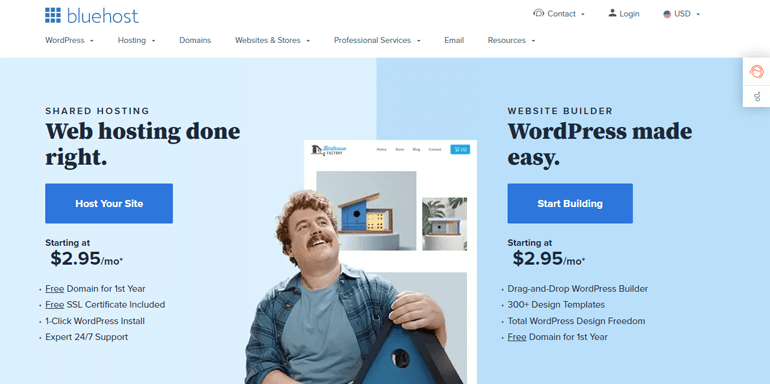
Bluehost offers different hosting plans such as – Shared hosting, Dedicated hosting, VPS hosting, and WordPress hosting. Among them, we’re going to buy the WordPress hosting plan.
Start by visiting the official Bluehost site. Then, select the Host Your Site button you can see on the homepage.
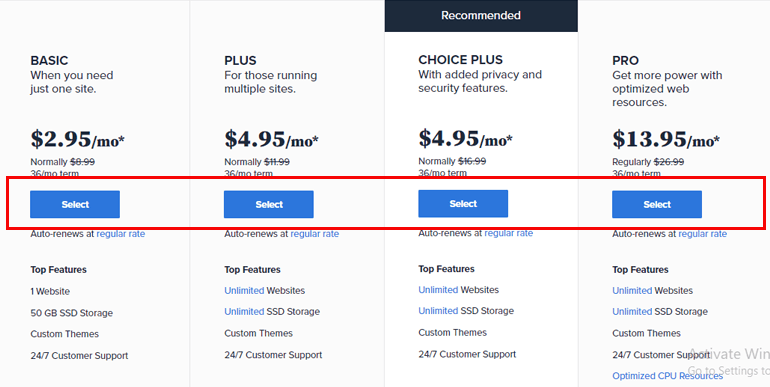
This takes you to the plans and pricing page. You can see there are four different plans. Select the most appropriate plan for your website.
Next, you need to Set Up Your Domain. Since we don’t have a domain name yet, type a domain name of your choice on the Create a new domain option. And select the Next button.
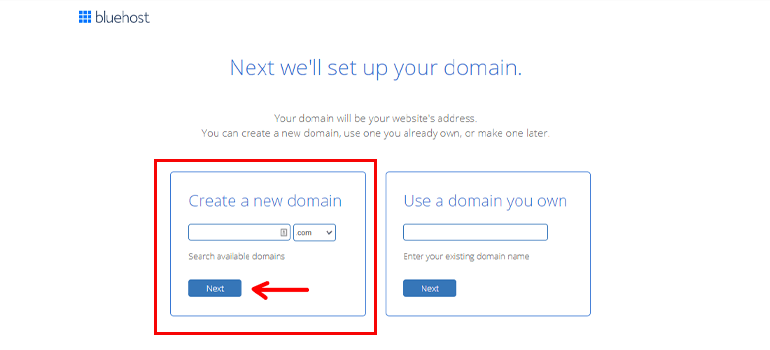
If the domain name is available, Bluehost takes you to Create your account page. However, if the domain name isn’t available then, consider another name for your website.
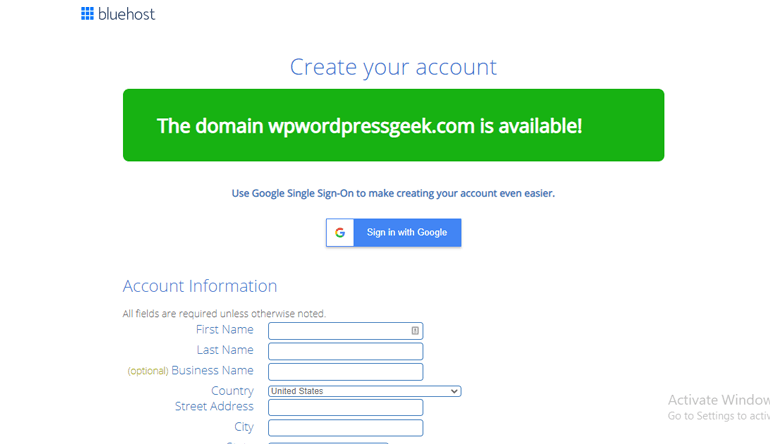
Then, on the create your account page, fill in all the necessary information, such as Account Information, etc. Also, fill in your Payment Information. Lastly, check on the Auto-Renewal Terms button and hit the Submit button.
Hurray! You just bought yourself a web host and a domain name.
Install WordPress
It’s time to install WordPress on this multilingual site tutorial. Bluehost offers an Automatic WordPress Installation feature. When you buy a web host and domain name, WordPress is automatically installed. However, sometimes due to some reason, it might not be installed.
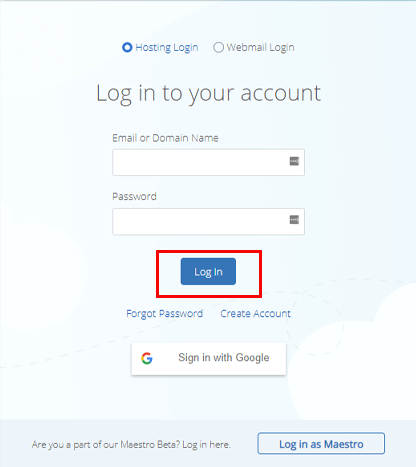
In that case, Bluehost provides a One-Click Install feature. Now, to install WordPress, log in to your hosting account by entering the Email or Domain name and Password. You can find the Login option at the top right of the homepage of Bluehost.
After you’ve logged in, select the My Site option from the sidebar.
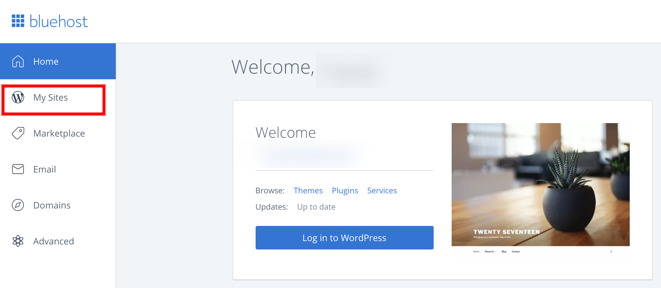
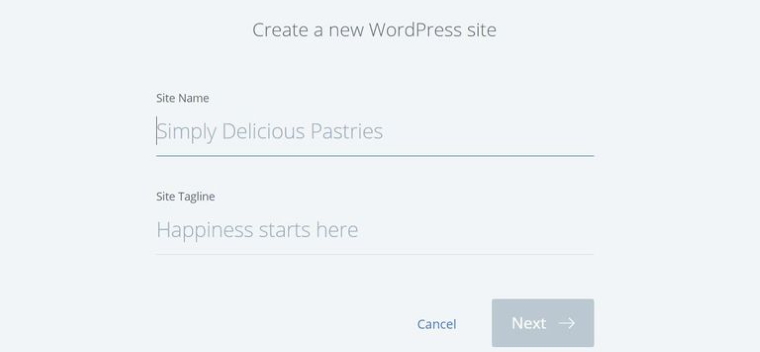
Next, click on the Create Site and enter Site Name and Tagline of your choice.
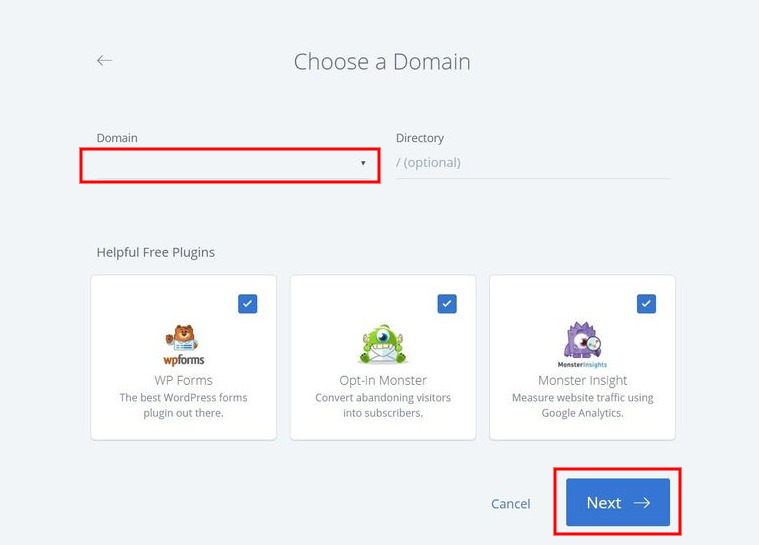
Then, enter the Domain name and select the Next button.
Bluehost will now automatically install WordPress. All you need to do is Log in to your WordPress dashboard.
2) Install a Translation-Ready WordPress Theme
Now that we’ve all the basic requirements to create a WordPress site, it’s time to change the layout of your website. You can do that by changing the theme of your site.
There are thousands of WordPress themes, including free and premium. Here are a few tips on how you can choose the perfect theme for your multilingual WordPress website
- Translation-ready: First and foremost, you need a WordPress theme that allows you to translate the site’s content into any language.
- Well-coded: A well-coded theme makes your site load faster. And, ultimately this helps you rank higher on SERPs.
- Responsive: Users can view your website from any device such as mobile, laptop, tablets, etc. So, select a WordPress theme that’s responsive.
- Easy Customization: When you install a WordPress theme, there are many unwanted contents that you can customize according to your preference. An easily customizable theme is a must to create a high-quality site.
- Ratings and Reviews: Ratings and reviews are other things you can observe before you install a theme. Old users give their honest experience with the themes in the review section. This can help you choose a better theme.
With that in mind, let’s select a theme for your multilingual WordPress website. From our side, we highly recommend the theme Zakra. More than 60K happy customers have trusted Zakra.
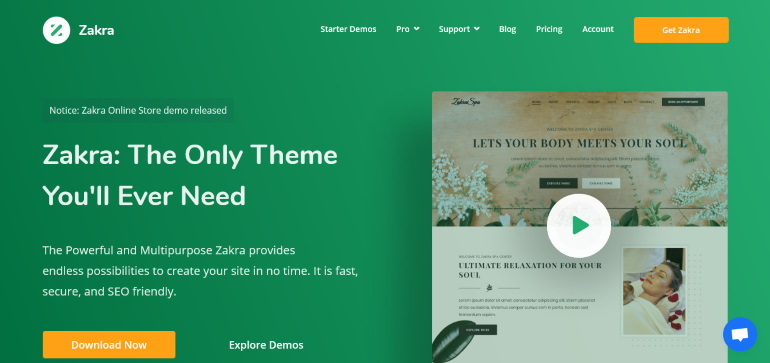
To add more, it’s exceptionally customizable, SEO optimized, fully supports WooCommerce, responsive and more. Best of all, it’s translation-ready and perfect for your multilingual WordPress website.
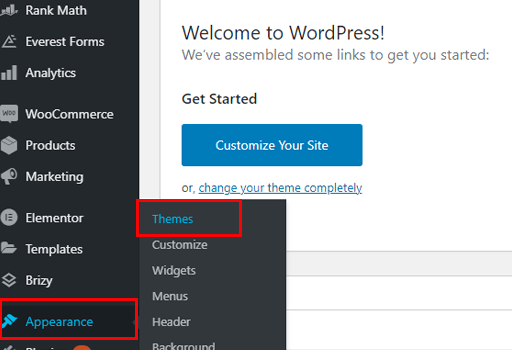
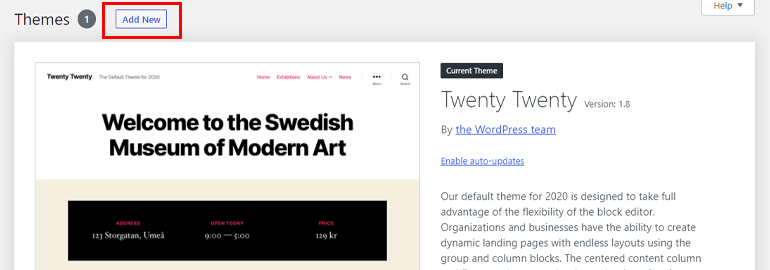
To install the Zakra theme, first of all, log in to your WordPress website. Then, navigate to Appearance >> Themes.
Now, click on the Add New button located at the top left.
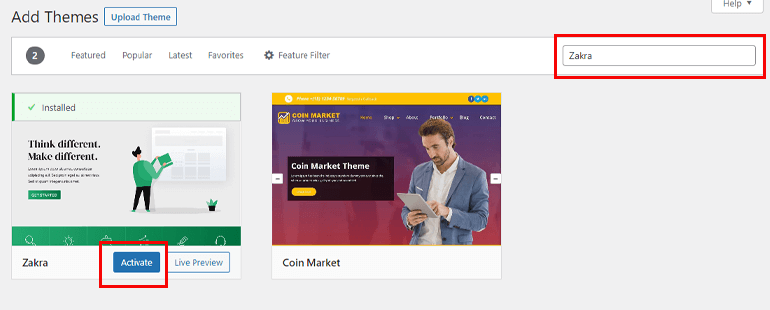
Enter Zakra on the search bar. Next, click on the Install button and finally hit the Activate button to complete the installation process.
Here’s a complete guide on how to install a WordPress theme.
Import Zakra Demo
Zakra offers 65+ theme demos suitable for any type of niche website. Additionally, with the help of ThemeGrill Demo Importer, you can import any demo with just a click.
As soon as you install the Zakra theme, a welcome message appears at the top of the dashboard. Click on the Get Started with Zakra.
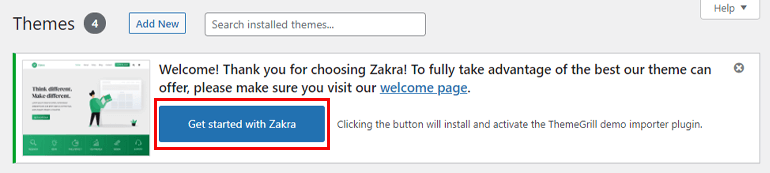
ThemeGrill Demo Importer is automatically installed. Then, it takes you to the demo page. Select a demo that suits your website the best. If you want to get access to all the demos then, upgrade to the premium version.
Once you’ve decided on which demo you want to import, click on the Import button. A confirmation page popup appears; select the Confirm button. Finally, click on the Import button.
Now, if you see the preview of your website, it looks exactly like the demo you imported.
For a full guide, here’s an article on how to get started with Zakra Pro.
3) Select a Multilingual WordPress Plugin
The next step of how to create a multilingual WordPress site is to install a multilingual WordPress plugin. But first, let’s choose a multilingual plugin.
TranslatePress is one of the best WordPress multilingual plugins out there. Most importantly, it’s free and easy to install. Other than that, it’s a self-hosted plugin. This means you’ll own all your translations forever.
Furthermore, TranslatePress allows you to easily translate the entire page at once, including outputs from shortcodes, forms, and page builders. And, it also works perfectly with WooCommerce.
Install TranslatePress
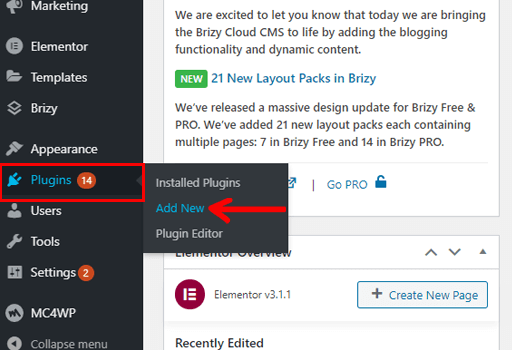
To install the free version of the plugin, navigate to Plugins >> Add New from your WordPress dashboard.
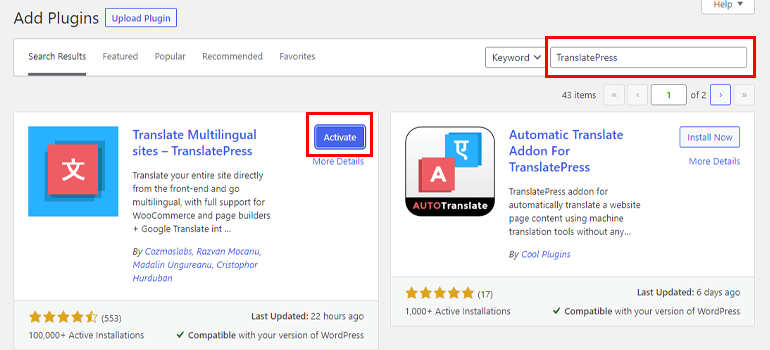
Now, enter the plugin’s name on the Search bar. Then, click on the Install Now button. Finally, Activate the plugin.
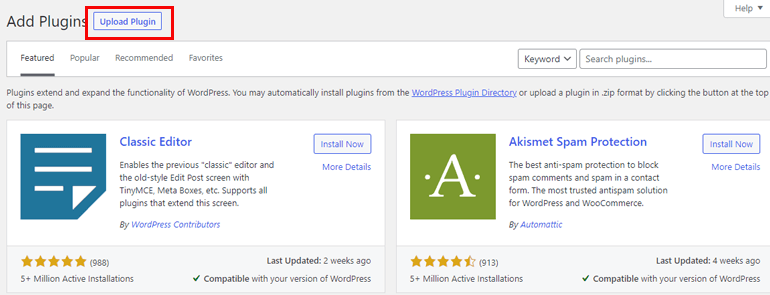
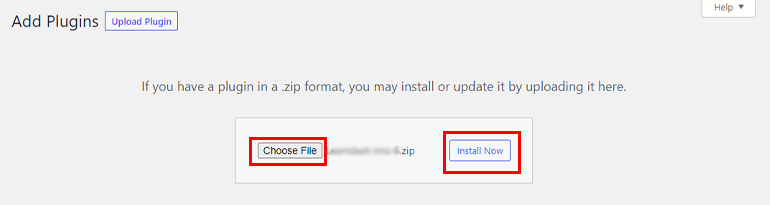
Correspondingly, to install the premium version of the plugin, first of all, visit the plugin’s site and download it.
Now, navigate to Plugins >> Add New. Select the Upload Plugin button from the top right.
Thereafter, click on the Choose File option and select the zipped file of the plugin you downloaded earlier. Install the plugin, and lastly, Activate it.
Add Language Switcher
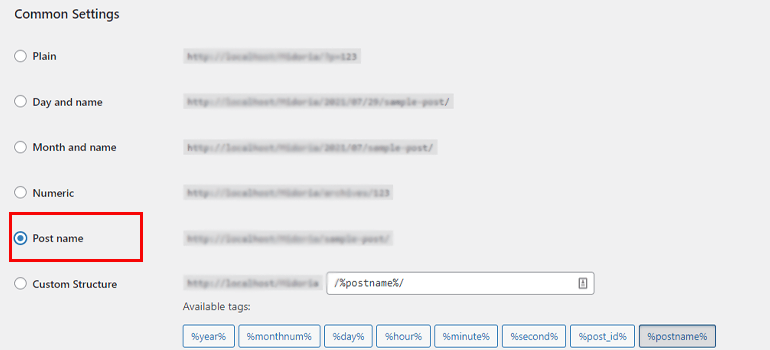
After the plugin is activated, navigate to Settings >> Permalinks.
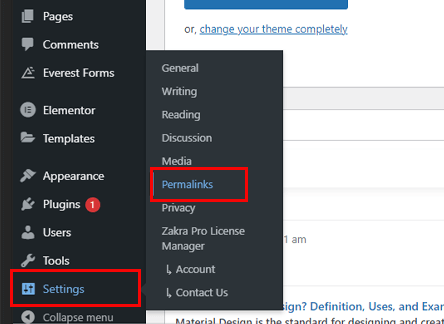
Enable the Post Name option.
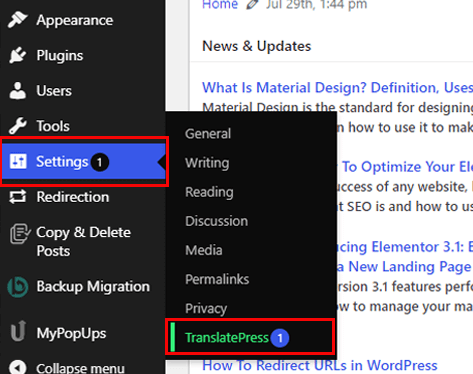
Now, navigate to Settings >> TranslatePress.
On the TranslatePress Settings page, you can see the Default Language as the first option. Here you can set the default language of your site. This is the language that your visitors will see when they open your site.
The second option is All Languages. This option allows you to add languages you want your site to translate into. Simply click on the Choose dropdown menu. Select the language of your choice and hit the Add button.
If you’re using the free version of the plugin, you can add only two languages. On the other hand, the premium version supports 221 additional languages and Yoast SEO. Moreover, it allows translating SEO Title, Description, Slug, and much more.
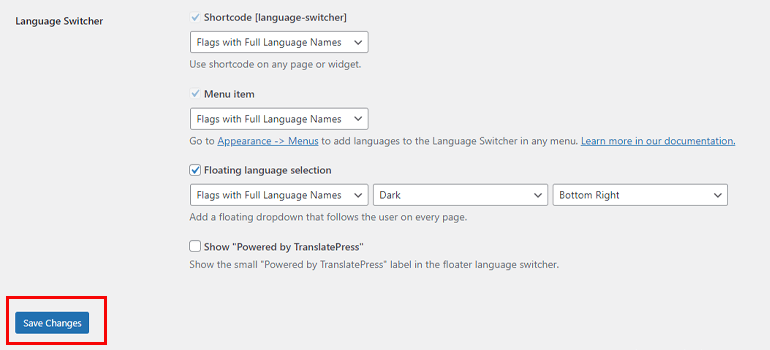
Then, on the Language Switcher option, you can decide the location of the language switcher. Simply select the location you desire from the dropdown menu located under the Floating language selection option.
You can leave all the other options as it is. Lastly, save all changes by clicking on the Save Changes button.
If you see the live preview of your site, you can see the language switcher on the location you’ve chosen. When you click on it, you can observe another language (German in our case) that you added earlier. Further, you can switch your site’s content between those two languages.
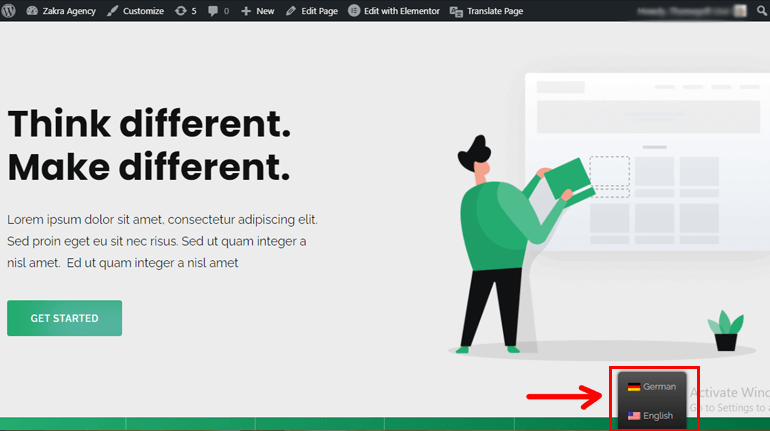
However, the content of your site still appears in English. That’s because we’ve only added the language switcher. We still manually need to change content.
Translate Site’s Content
To change your site’s language, click on the Translate Page option located at the top of your site’s live preview page.
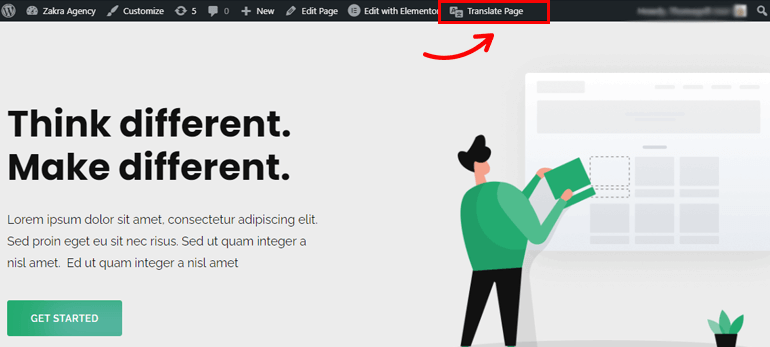
This option takes you to the TranslatePress editor page. On the right pane, you can see the main display. Similarly, on the left pane, there are different translation options.
Next, if you click on the Pencil Icon next to every text on the right pane, you can observe that the text is automatically entered on the Select string to translate text box.
Alternatively, you can also search different texts from the Select string to translate the dropdown option as shown above.
Besides, just click on the Next button below the Select string to translate option. This option will load the texts sequentially.

You can choose whichever option you find easy among the three.
Then, manually translate the meaning of all the content on your site from English (default language) to German (or any other language of your choice).
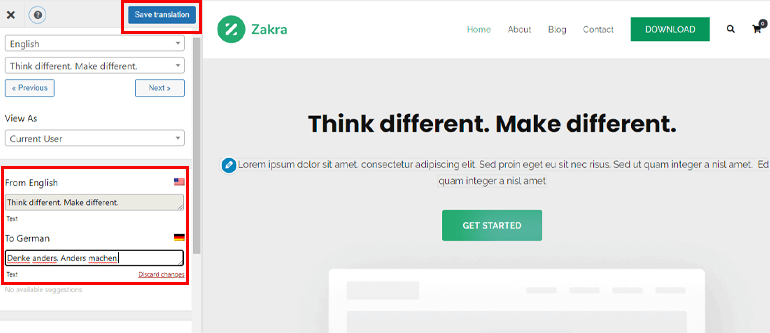
Once you’ve translated all the content, click on the Save Translation option, as shown in the image above.
If you see the live preview of your website, you can see that the contents have been translated.
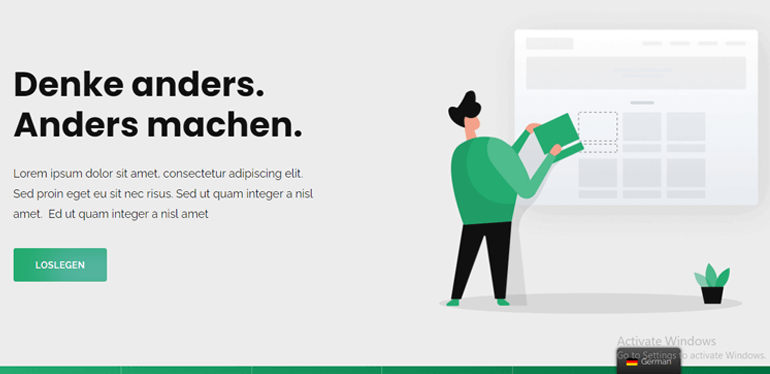
Correspondingly, you can translate all the pages of your website.
Automatic Translation
TranslatePress also offers an automatic translation option for your multilingual WordPress website. To enable the option, navigate to Settings >> TranslatePress. Then, select the Automatic Translation tab from the different setting options and click Yes.
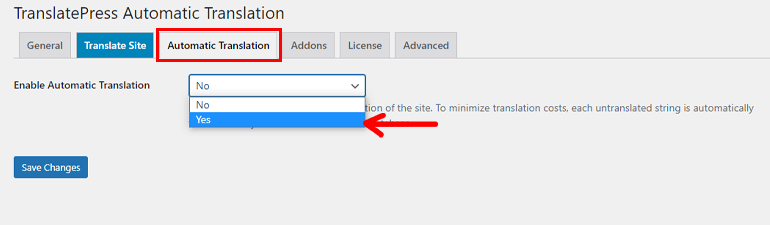
Once you enable the automatic translation option, different other options appear below. Now, you can choose a Translation Engine between Google Translate V2 and DeepL.
Next, you need to enter Google Translate API Key. To get the API key visit the link provided below the option.
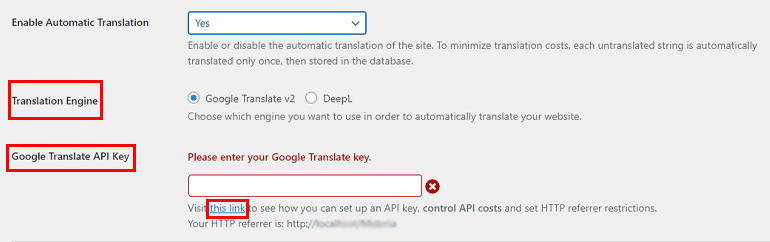
After all the changes, don’t forget to click on the Save Changes button. TranslatePress will now use machine translation to translate your site’s content.
Machine Translation Vs Manual Translation
To be honest, manual translation is more accurate than machine translation. You can translate it by yourself, or hire someone to translate it for you.
However, if you want to enable machine translation, then it’s perfectly fine as well.
Wrapping It Up!
And that’s the end of the tutorial on how to create a multilingual WordPress site. As mentioned at the beginning of the article, making a multilingual site in WordPress is effortless with the help of a WordPress multilingual plugin.
And, TranslatePress is the best for this purpose. It’s user-friendly as well as easier to set up. Additionally, you can manually translate the content or use machine translation.
Other than that, we used Zakra as the theme. Zakra is a multipurpose WordPress theme which means it can be used to create a website of any niche. Additionally, it’s page builder compatible, AMP ready, and much more. And, we used Bluehost to host our site and register the domain.
Finally, it’s time to say goodbye. Hope you enjoyed reading this article and if you did, please take some time to share it on social media.
Also, follow us on Twitter and Facebook for more informative articles in the future.